


If you have a new reclaimed wood wall, let us be the first to congratulate you on adding that natural beauty and history to your home or business! You may be at the stage where you’re curious about your reclaimed wood wall upkeep, we’re here to help. Rest assured that Woodstock Walls’ reclaimed wood planks are hand-selected and manufactured with care by experts prior to you receiving them. We have some tips for keeping them that way after install.
Before You Get the Wood
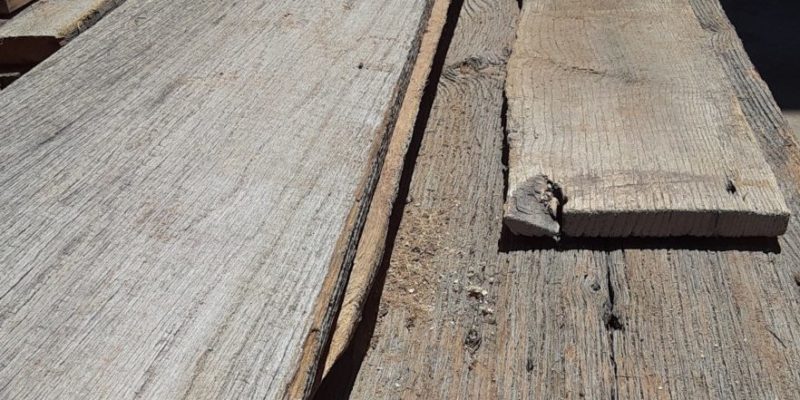
Using reclaimed wood in your home, RV or business comes with risks that you should be mindful of. We’ve said it before, and we can’t stress it enough – not all reclaimed wood is created equal. Buying from a trusted source and reputable manufacturer minimizes many of the risks. One major concern is if the wood is clean from dirt, bugs, chemicals, and bacteria.
When you buy reclaimed wood planks from a lumberyard or scrap yard, you may encounter planks caked with dirt or bugs inside the wood. One of the steps in lumber’s lifecycle, from the tree to your home, is kiln drying the wood. Kiln drying is a process that involves putting the wood in a temperature-controlled furnace for better quality lumber. With temperatures as high as 170F, the process sanitizes the wood while killing most insects, bug eggs, larvae, mold, and fungi on the wood. With the airflow and humidity also controlled it removes so much moisture from the wood making it not as prone to warpage and resistant to fungal decay.
Here at Woodstock Walls, once we receive the kiln-dried wood, we mill it. We mill it through numerous industrial machines to give them the highest most consistent quality wood, possible. Milling each plank means they will have consistent grooves on the back and be perfectly 5 inches wide. Each piece is then hand cut/double end trimmed to certain lengths. That process typically removes any remaining dirt from the surface. As a result, you don’t have to worry about cleaning or sanding the planks before installing them.
After You Install the Wood
We have some tips for keeping your new reclaimed wood wall clean after install.
For consistent cleaning, using a vacuum with the bristle attachment will help collect and trap dirt, dust, or pet debris from the face of the reclaimed wood planks. In that same easy manner, you can also use a steamer to remove spill spots on the wood. After cleaning the loose dirt with the vacuum, steam the wall section by section. Be careful not to hover over an area longer than 10 seconds because you don’t want to put too much moisture on the planks. Allow the wall to air dry and it should be thoroughly cleansed. You should vacuum the wall routinely as often as once a month if needed.
For major spills that the steamer won’t remove, we recommend lightly sanding the spot going with the grain using sandpaper above 150 grit. Don’t sand heavily, as that will sand away the beauty of the naturally weathered reclaimed wood. You have to use this method with care to not leave marks on your wood wall. If you have planks that need to be replaced, that is difficult depending on how you installed your wall. A reclaimed wood wall that was installed with nails is the easiest to replace single planks.
We always have experts waiting to help, if you have any questions regarding your reclaimed wood wall upkeep contact us!