Wood Panel Installation


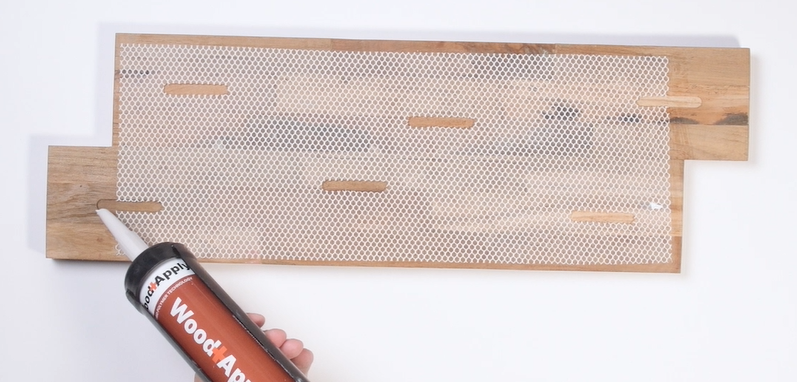
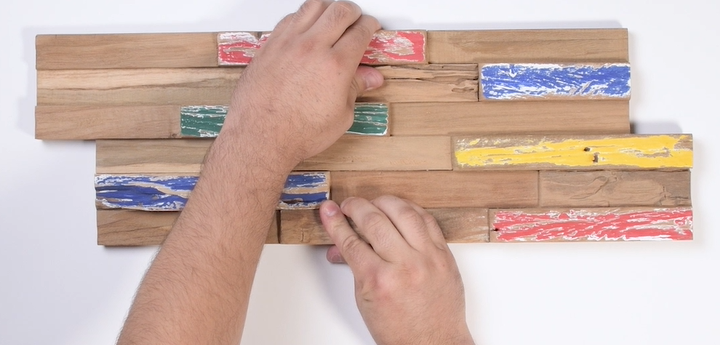
STEP 1
TURN PANEL OVER, FILL GROOVES WITH ADHESIVE
STEP 2
APPLY PANEL TO LEVEL SURFACE
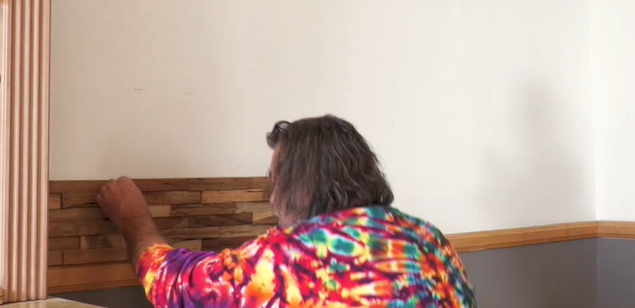
STEP 3
CONFIRM PANEL IS LEVEL, APPLY EVEN PRESSURE ON PANEL
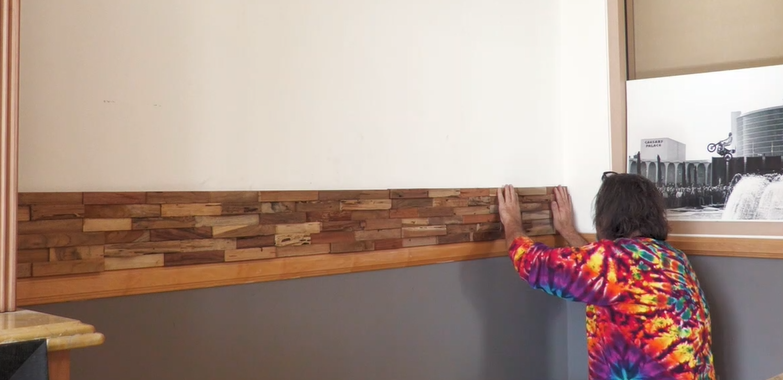
STEP 4
PLACE THE NEXT PANEL TO THE LEFT OR RIGHT TO COMPLETE THE FIRST ROW
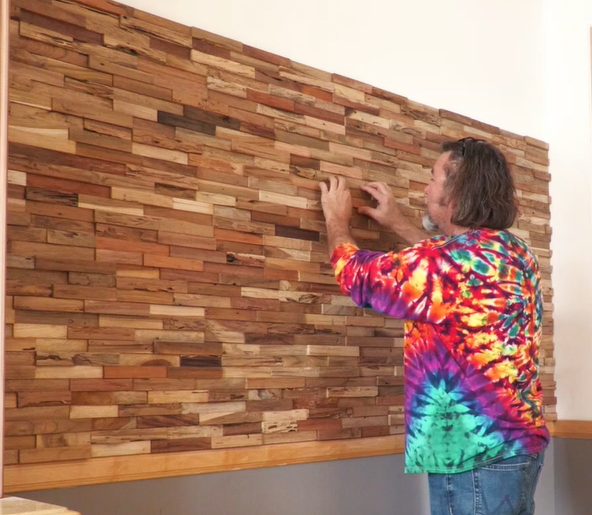
STEP 5
STACK TO COMPLETE THE WALL, TRIM PANELS TO FINISH ROW ENDS
Questions?
SHOP FOR INSTALL
-
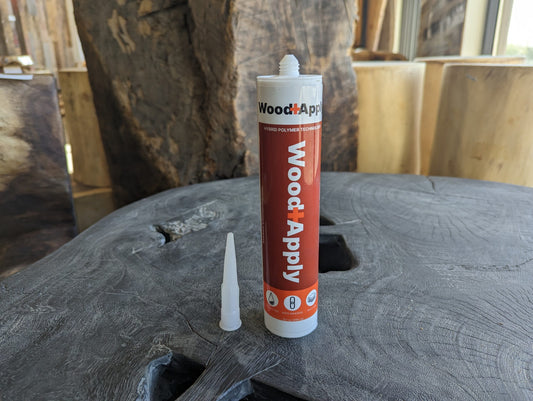
Click&Stick Adhesive
Regular price $20.00 USDRegular priceUnit price per -
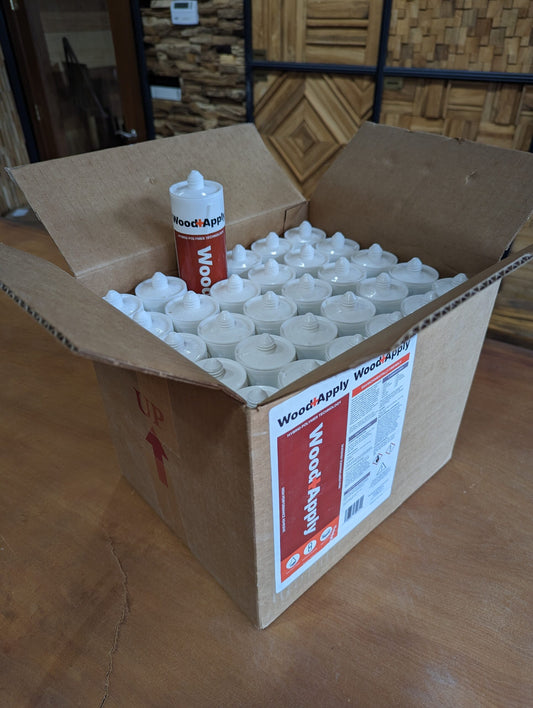
Click&Stick Adhesive FULL CASE
Regular price $525.00 USDRegular priceUnit price per