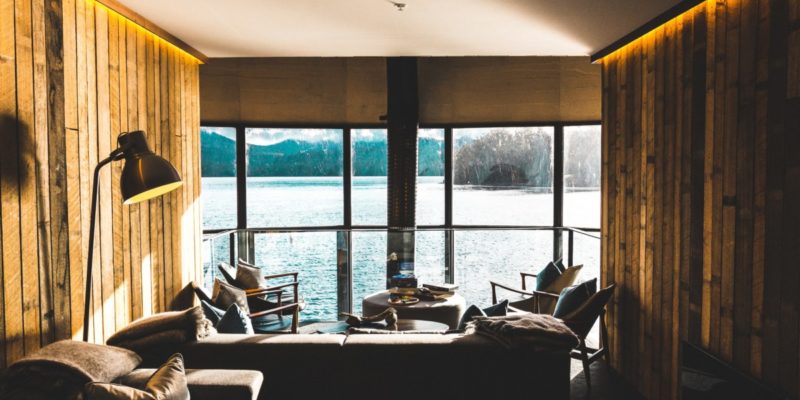
Here at Woodstock Walls, we love seeing the large number DIY decorators using reclaimed wood panels to give their home’s a rustic and naturalistic makeover. Now although we provide peel-and-stick reclaimed wood panels, some decorators love finding, cleaning, and preparing reclaimed wood for themselves! If you are wondering how to install a reclaimed wood wall in your home, here are a few preparation tips and tricks on how to install reclaimed wood you’ve found!
Preparing for Installation of Reclaimed Wood Walls
A great, yet simple, trick for installing reclaimed wood walls in your home is to keep it simple! Utilize this type of wood as a single feature wall for a simple way to add character to any room. But, before you get your project started, you must know how to install reclaimed wood walls correctly. Here’s how to clean, prep, and plan to create your barn wood wall ideas.
1. Clean and Prep the Boards
One of the most important tasks for you to follow when building your wood wall is to clean and prep the wood. First, you must clean old barn boards with a tough bristle or steel brush to remove any grime and dirt that has accumulated on the wood its lifetime. This should be followed by a thorough scrubbing with water and borax. Once you’ve completed the scrubbing process, let the wood dry thoroughly. It would be ideal to let the wood dry out in the sun for a few weeks (as long as they do not get wet again).
Next, lightly sand each board with a palm sander to rid of any splinters as well as bring out any knots and rich grain. In most cases, people will not treat salvaged barn wood expect if they are going into wet zones of the house like a bathroom or a kitchen backsplash. In these instances, you would coat them with a water-based poly sealer, preferably with a matte finish to maintain the natural look.
2. Prepare Your Walls
If you decide to create your project with barn boards or natural wood, you should consider painting the feature wall black or brown. Painting your wall with a dark color eliminated any white wall showing through the cracks of the wood. If you are using white shiplap, you would of course paint or keep your walls white. If you are vertically installing your boards, you’ll need to install horizontal strapping for them to be nailed into.
3. Cut Your Boards Correctly
First things first, Square off your boards. Then you’ll have to measure the length you’ll need and mark it with a pencil on where you need to cut. The best way to cut your pieces is with either a chop saw or hand saw. If you decide to install vertically, your board lengths will measure to the same length. Be sure to double check the measurements of different spots along your walls just in case the floor and ceiling aren’t equally level. If you install your planks horizontally, be sure to measure each at the same length and use scraps to add length.
4. Lay the Wood Out
Lay out your wood before installing to ensure your boards have a level fit. You may need to play around a bit to see which planks will fit best next to each other. Don’t worry about the tiny gaps between a few boards, the blemishes make for a unique and natural look. If installing horizontally, designs look best with shorter pieces closest to the end and the longest pieces in the middle of the feature wall.
5. Don’t Strive for Perfection
After measuring, you may come to realize that your ceiling and floors aren’t leveled. This may mean you need to add extra pieces to either the top or bottom of vertical planks to hide any significant gaps. For some perfectionist, this may bother you, but having gaps in your wood walls make them look a bit more interesting. The imperfections can be beautiful.
Wood Walls Done Easy!
If you are wondering how to install wood wall planks in your home without going through the tough process of cleaning and prepping, consider using our click-and-stick wood planks. These planks make wood wall paneling easy for any DIYer. For more information on how to install reclaimed wood walls, contact us today.


Yes! I followed your instructions to a “T” and I didn’t have any issues installing my reclaimed wood wall
I wish I would of seen this before we installed our reclaimed wood panels, would of saved me so much time! thanks for the info!
Yeah preparing the walls is such a big deal, I didn’t do this on my first project and it took us an extra four hours, This is extremely useful contact thank you!